Over the last several weeks I have been harvesting my first home-grown watermelons. This was my second year growing watermelons, but last year I didn’t get them in the ground soon enough and they didn’t have time to fully ripen. This year I was sure not to make the same mistake.
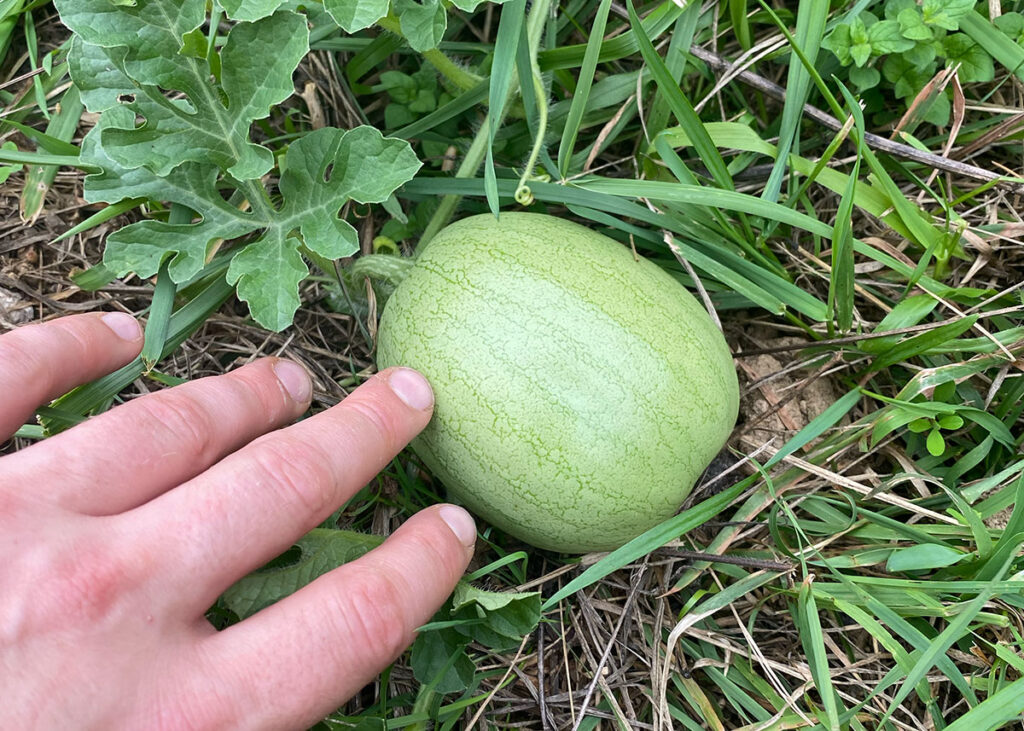
I planted two varieties—Ali Baba and Sugar Baby. I acquired both of the seeds from Baker Creek Heirloom Seed Co. I was absolutely thrilled when the plants flowered and I began to see tiny watermelons forming.
I watched and waited for weeks as the watermelons grew in size. When they began to approach what I considered to be “normal watermelon size”, I began doing research on when to harvest. As it turns out, determining when a watermelon is ripe is not as simple as most the other plants in the garden. Here are some of the clues to look for, but based on my experience (more on that in a bit) these tricks don’t always work.
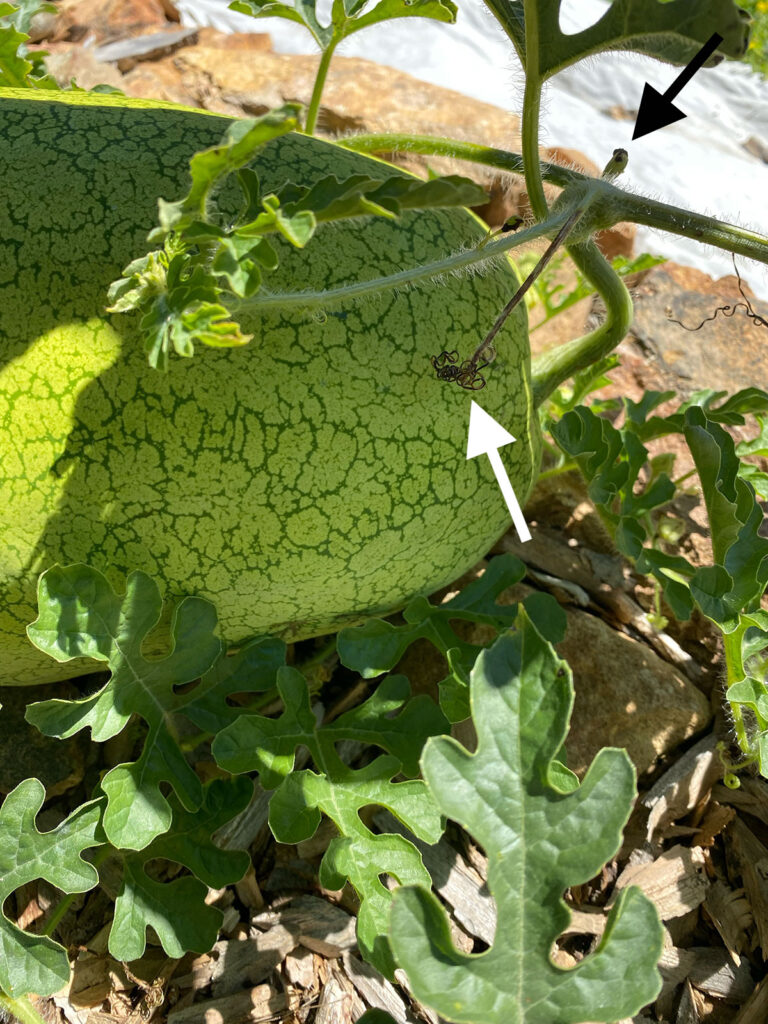
Watermelon Harvesting Tip #1: Wait for the tendril to turn brown
Waiting for the nearest tendril to turn brown seems to be the most common indicator. If you look where the stem of the watermelon connects to the vine, there should be a curly tendril coming out where the stem and vine meet. Once that tendril starts to turn brown and die, supposedly the melon is ready or very nearly ready. In my experience, this method can be helpful, but is by no means fail proof—more on that later.
Watermelon Harvesting Tip #2: Wait for the spoon leaf to fall off
Where the stem of the melon meets the vine, there is a spoon-shaped leaf that looks different from any of the other leaves. According to popular wisdom, if this leaf is still alive, the melon isn’t ready. From what I have gathered, this technique isn’t as accurate as the tendril method described above. Apparently, sometimes the spoon leaf can die and fall off long before the melon is ready. So, it seems like this technique should be taken into consideration, but is not 100% reliable.
Watermelon Harvesting Tip #3: Listen for a hollow sound
This is another technique that I’ve seen people recommend. After reading about it, I immediately went out into my garden and started tapping melons to see what they sounded like. Unfortunately, I couldn’t decide if my melons sounded hollow or not. So, the next time I went to the grocery store, I spent a while picking up watermelons in the produce section and tapping/knocking on them to get an idea of how a ripe melon should sound. This was very helpful and gave me a much better idea of what to listen for in my garden.
Watermelon Harvesting Tip #4: Watch for the field spot to change color
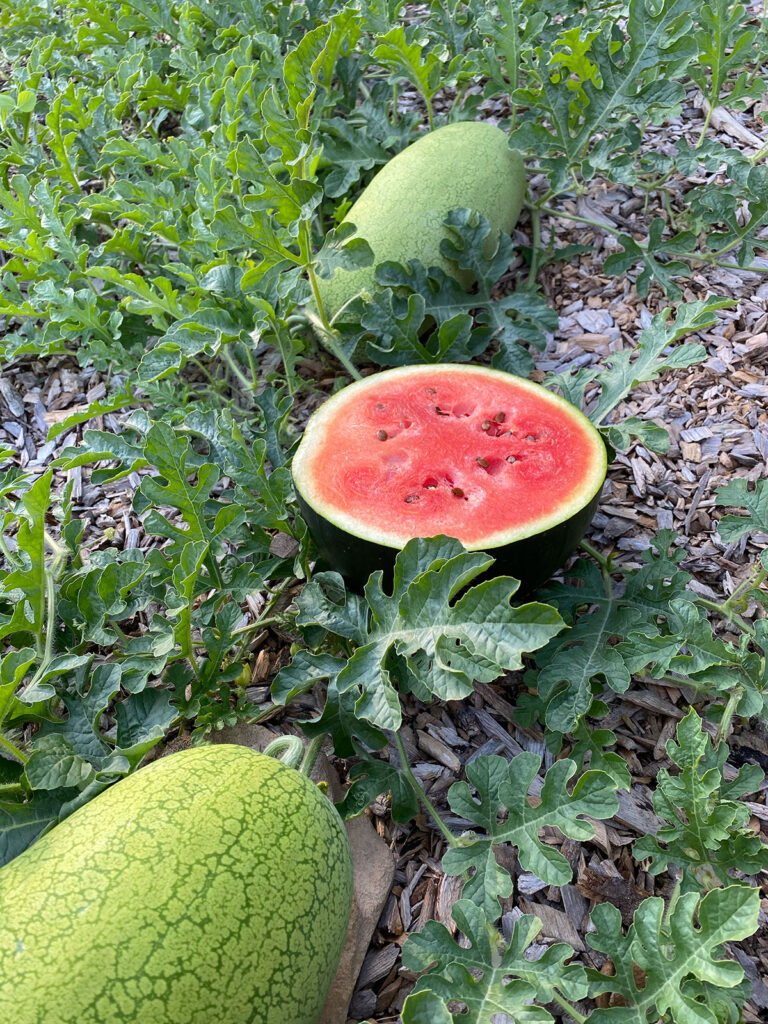
I’ve read that on many watermelons, the color of the field spot changes from a pale white to a yellowish color when the watermelon is ready. This trick didn’t work as well for me, as the Ali Baba variety I grew is already extremely light green in color. I also grew most of my watermelons in an area of the garden that is covered in wood chips, so the watermelons weren’t nestled as deeply as they would be if they were in grass. I think this prevented my watermelons from having much of a field spot at all.
The two that I had growing in grass did have much more well defined field spots. One of the watermelons I had in the grass was the Sugar Baby variety, and I did see a noticeable change in the color of the field spot on that one. I think this is because the color of the rind on the Sugar Babies is darker, and because the watermelon was sitting in tallish grass that hid it from sunlight.
Mixed Results
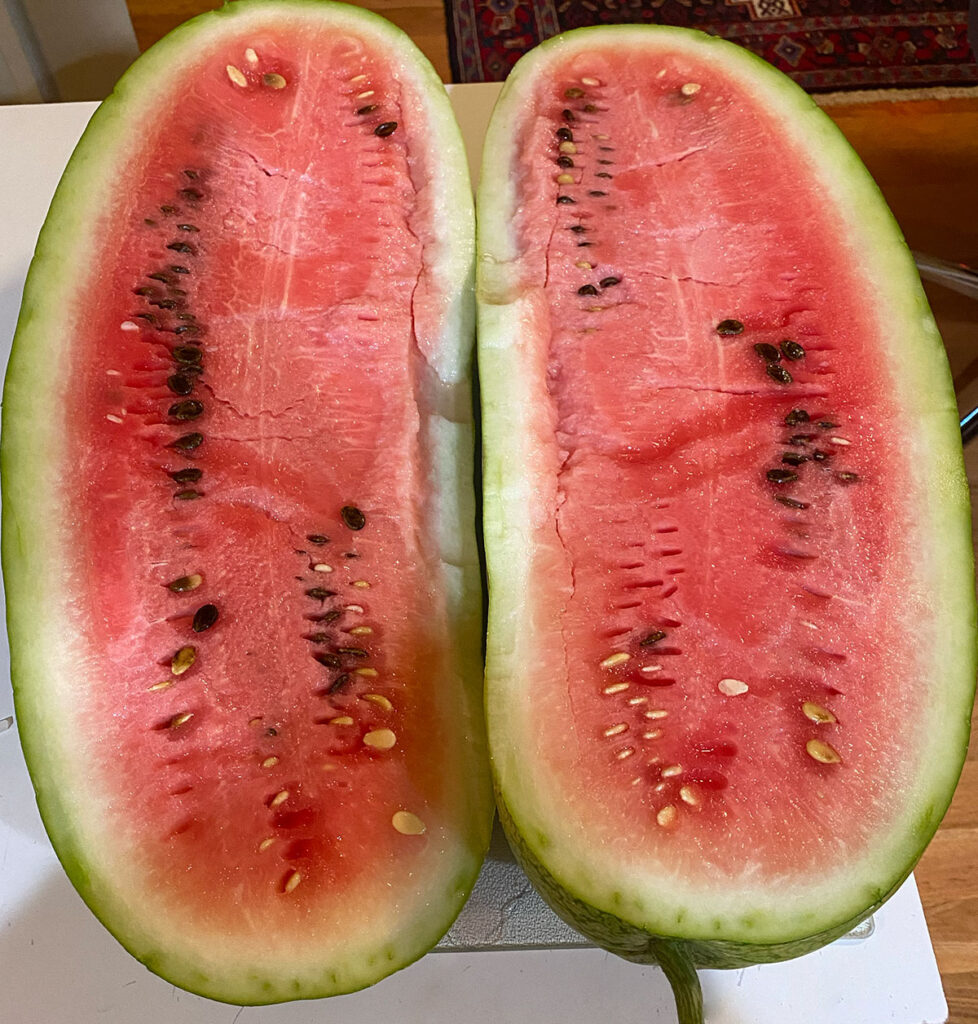
Since harvesting the first watermelon in late August, I have experimented with all three of these methods. My results have been mixed. I harvested one watermelon in August that had a half dead tendril, but when cut in half it was still almost completely white with only a hint of red coloring starting to show. On the other hand, two days ago I decided to go ahead and harvest the two biggest melons in my garden and had the opposite experience.
According to some of the online sources I consulted, watermelons need temperatures in the 70s or 80s to ripen. Temperatures have been getting down into the low-50’s and high-40’s at night this week. As I was concerned the temperatures might be too low for these remaining watermelons to even ripen, I decided I had little to lose by harvesting one. The tendril of the watermelon I harvested was about half dead. The spoon leaf was still partially green and intact, though. When I gave the watermelon a tap with my knuckle, it didn’t sound quite as hollow as the watermelons at the grocery store. It did sound more hollow than another melon nearby that had only been growing for two weeks, though.
Lo and behold, the watermelon I harvested was perfectly ripe. There was another watermelon of similar size next two it that had started growing around the same time. The tendril on this melon wasn’t dead at all, but the spoon leaf was gone. When I tapped on the rind, it had a similar sound to the one I had already harvested. So, I decided to go ahead and harvest that one as well. I haven’t cut into it yet, so I will update this post when I do. Hopefully it will be ripe as well.
In Conclusion
I’ve started ordering seeds for next year, and I can’t wait to grow watermelons again. I will continue using these three techniques to determine if a watermelon is ripe, but my experience has led me to believe that these tests don’t always work. I have a feeling that when I grow watermelons in the future, I will probably always harvest one or two watermelons too soon, and I may just have to accept that. I’m already planning on growing more watermelons and more varieties next year. I think I will just have to grow enough that I can always spare a few to poorly-timed harvest.